Physical Address
304 North Cardinal St.
Dorchester Center, MA 02124

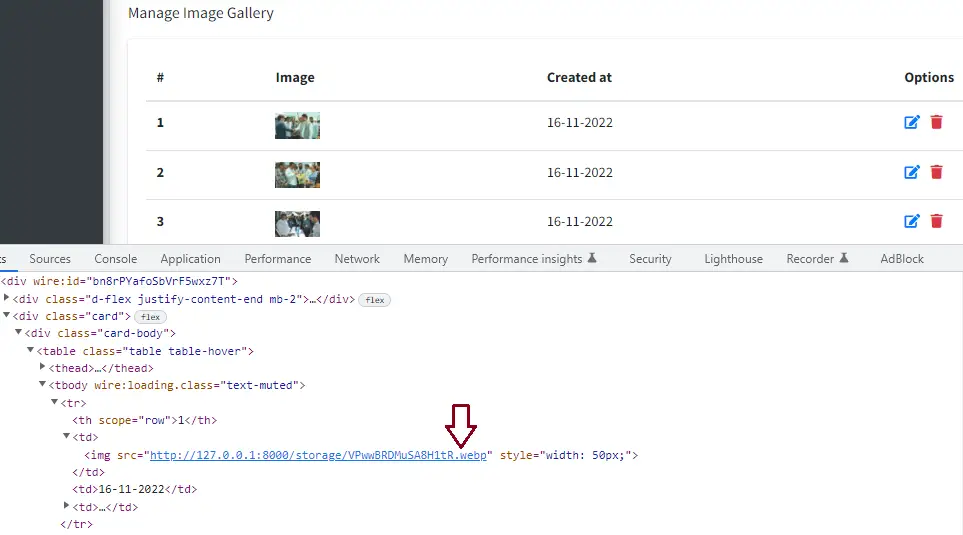
Do you want to convert image to webp in Livewire in the Laravel application?
This step-by-step tutorial helps you learn how to upload an image and encode jpeg/jpg/png to webp in Livewire in the laravel application with the help of the PHP intervention image package.

Ideally, the image format is the process of changing the format and extensions of the image, we daily browse a variety of sites, be it social media, eCommerce, or any other site where we require to upload images, sometimes, we have to create or generate thumbnail images.
Consequently, to change the format of a picture in laravel of the image, we have to create a file extension feature.
In this guide, I will tell you how to profoundly format an image in a laravel application using the PHP intervention image package, this package allows you to manage the image format.
This step describes how to install the PHP intervention image package into the laravel application, type the command in the terminal, and execute it to install the plugin.
composer require intervention/image
In order to use the image intervention package in Livewire Laravel, you make sure to inject the package classes into the providers and aliases arrays.
Open the config/app.php file and update the following code in the file.
config\app.php
<?php
return [
	......
	$providers => [
		......,
		'Intervention\Image\ImageServiceProvider'
	],
	$aliases => [
		......,
		'Image' => 'Intervention\Image\Facades\Image'
	]
]
Now, we can Serve images in next-gen formats in Livewire-Laravel.
app\Http\Livewire\MediaImageGallery.php
<?php

namespace App\Http\Livewire;

use App\Models\ImageGallery;
use Livewire\Component;
use Illuminate\Support\Str;
use Livewire\WithFileUploads;
use Illuminate\Support\Facades\Storage;
use Intervention\Image\ImageManagerStatic;
use Illuminate\Support\Facades\Validator;

class MediaImageGallery extends Component
{
    use WithFileUploads;

    public $photo;


    public function createImageGallery()
    {
        $validatedData = Validator::make($this->photo,
        ['photo' => 'required|image|mimes:jpeg,png,jpg|max:2048'])
        ->validate();

        if ($this->photo)
        {
            $img  = ImageManagerStatic::make($this->photo)
            ->encode('webp');
            $name = Str::random().'.webp';
            $path = Storage::disk('public')->put($name,$img);
            $validatedData['avatar'] = $name;
        }
        ImageGallery::create($validatedData);
        $this->photo = '';
        $this->dispatchBrowserEvent('hide-form',
        ['message' => 'Image added successfully!']);
    }
}
I hope that this article helped you learn to convert an image to webp in Livewire with an Example in Laravel. You may also want to check out our guide on How to Use Laravel Macro With Example in the Laravel application.