Physical Address
304 North Cardinal St.
Dorchester Center, MA 02124
Physical Address
304 North Cardinal St.
Dorchester Center, MA 02124

In this tutorial, I will tell you things about multiple image upload in the laravel app, we will save our multiple image data in a single column in JSON format, Just follow few steps and upload the image in the folder laravel app.
Follow the step given below, to create an example for How to upload multiple image in laravel.
At first, we will create a migration file, where we will define our column’s name of the table, in your cmd terminal, hit the given below command.
php artisan make:migration create_imageuploads_table
<?php

use Illuminate\Database\Migrations\Migration;
use Illuminate\Database\Schema\Blueprint;
use Illuminate\Support\Facades\Schema;

class CreateImageuploadsTable extends Migration
{
    /**
     * Run the migrations.
     *
     * @return void
     */
    public function up()
    {
        Schema::create('imageuploads', function (Blueprint $table) {
            $table->id();
            $table->string('business_name');
            $table->longText('business_imgs');
            $table->timestamps();
        });
    }

    /**
     * Reverse the migrations.
     *
     * @return void
     */
    public function down()
    {
        Schema::dropIfExists('imageuploads');
    }
}
After defining columns and his data types For migrating in cmd terminal hit the given below command
php artisan migratephp artisan make:model ImageUploadAfter running this command, you will see the ImageUpload model in App/ImageUpload, now we will protect the table name, and also we will define fillable columns.
<?php

namespace App;

use Illuminate\Database\Eloquent\Model;

class ImageUpload extends Model
{
    protected $table = 'imageuploads';
    protected $fillable = ['id','business_name','business_imgs'];
}
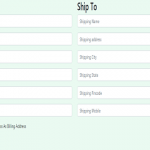
resources/views/MultipleimageUpload/add.blade.php
After these steps, we create a blade file for uploading images on the server, so just create a folder MultipleimageUpload, and then create an add.blade.php file on this folder.

<!DOCTYPE html>
<html lang="en">
   <head>
      <title>Multiple image upload Laravel</title>
      <meta charset="utf-8">
      <meta name="viewport" content="width=device-width, initial-scale=1">
      <link rel="stylesheet" href="https://maxcdn.bootstrapcdn.com/bootstrap/4.5.2/css/bootstrap.min.css">
      <script src="https://ajax.googleapis.com/ajax/libs/jquery/3.5.1/jquery.min.js"></script>
      <script src="https://cdnjs.cloudflare.com/ajax/libs/popper.js/1.16.0/umd/popper.min.js"></script>
      <script src="https://maxcdn.bootstrapcdn.com/bootstrap/4.5.2/js/bootstrap.min.js"></script>
   </head>
   <body>

<div class="container">
  <h3>Multiple image upload Laravel</h3>
   @if ($errors->any())
                <div class="alert alert-danger">
                <ul>
                @foreach ($errors->all() as $error)
                <li>{{ $error }}</li>
                @endforeach
                </ul>
                </div><br/>
                @endif
  <div class="card">
    <form name="img" id="img_upload" method="post" action="{{route('image.store')}}" enctype="multipart/form-data">
        @csrf
    <div class="card-header">Please fill up all the Field's.</div>
    <div class="card-body">
        <div class="row">
       <div class="col-md-6">
                  <label for="Business Name">Business Name :</label>
                  <input type="text" class="form-control" id="business" placeholder="Enter business name" name="business_name">
               </div>

               <div class="col-md-6">
                  <label for="Business Image">Upload Multiple Files :</label>
                  <input type="file" class="form-control-file" id="business_img" name="business_imgs[]"  accept="image/*" multiple>
               </div>
            </div>

    </div>
    <div class="col-md-3">
            <button type="submit" class="btn btn-block btn-info btn-sm">Save</button>
         </div><br/>

  </div>
</form>
</div>
</body>
</html>
For accessing all these functionally we create a Controller, now hit the given below command.
php artisan make:controller ImageUploadControllerThis is an important part of every application, where, we define our URL routes in the web.php file
Route::get('/image-upload','ImageUploadController@index')->name('image.upload');
Route::get('/image-upload-list','ImageUploadController@List')->name('image.list');
Route::post('/image-upload-store','ImageUploadController@ImageStore')->name('image.store');
Now we write code for ImageStore function, we get all request or image name at first we validate these request and write validation rules, you can print your all requests like dd($request); you can see all request parameters, and you can see the image files, which is coming in an Array from blade files,
<?php

namespace App\Http\Controllers;

use Illuminate\Http\Request;
use App\ImageUpload;

class ImageUploadController extends Controller
{
    public function index()
    {
    	return view('MultipleimageUpload.add');
    }

    public function List()
    {
    	return view('MultipleimageUpload.list');
    }

    public function ImageStore(Request $request)
    {
    #Handle File  images
       $this->validate($request, ['business_imgs' => 'required', 'business_imgs.*' => 'required|image|max:1999']);

        if($request->hasfile('business_imgs'))
             {
                foreach($request->file('business_imgs') as $file)
                {
                     $name = uniqid() . '_' . time(). '.' . $file->getClientOriginalExtension();
                     $path = public_path() . '/uploads/Img/MultipleImg/';
                     $file->move($path, $name);
                     $Imgdata[] = $name;
                }
             }

             else
             {
                 $Imgdata = 'noimg';
             }
        $Data = new ImageUpload();
        $Data->business_name = $request->business_name;
        $Data->business_imgs = json_encode($Imgdata);
        $Data->save();
        return redirect()->route('image.list');

    }
}
Note: The folder will automatically be generated in the public folder when you store request data.
$path = public_path() . ‘/uploads/Img/MultipleImg/
we store ImgData in Json format.
$Data->business_imgs = json_encode($Imgdata);
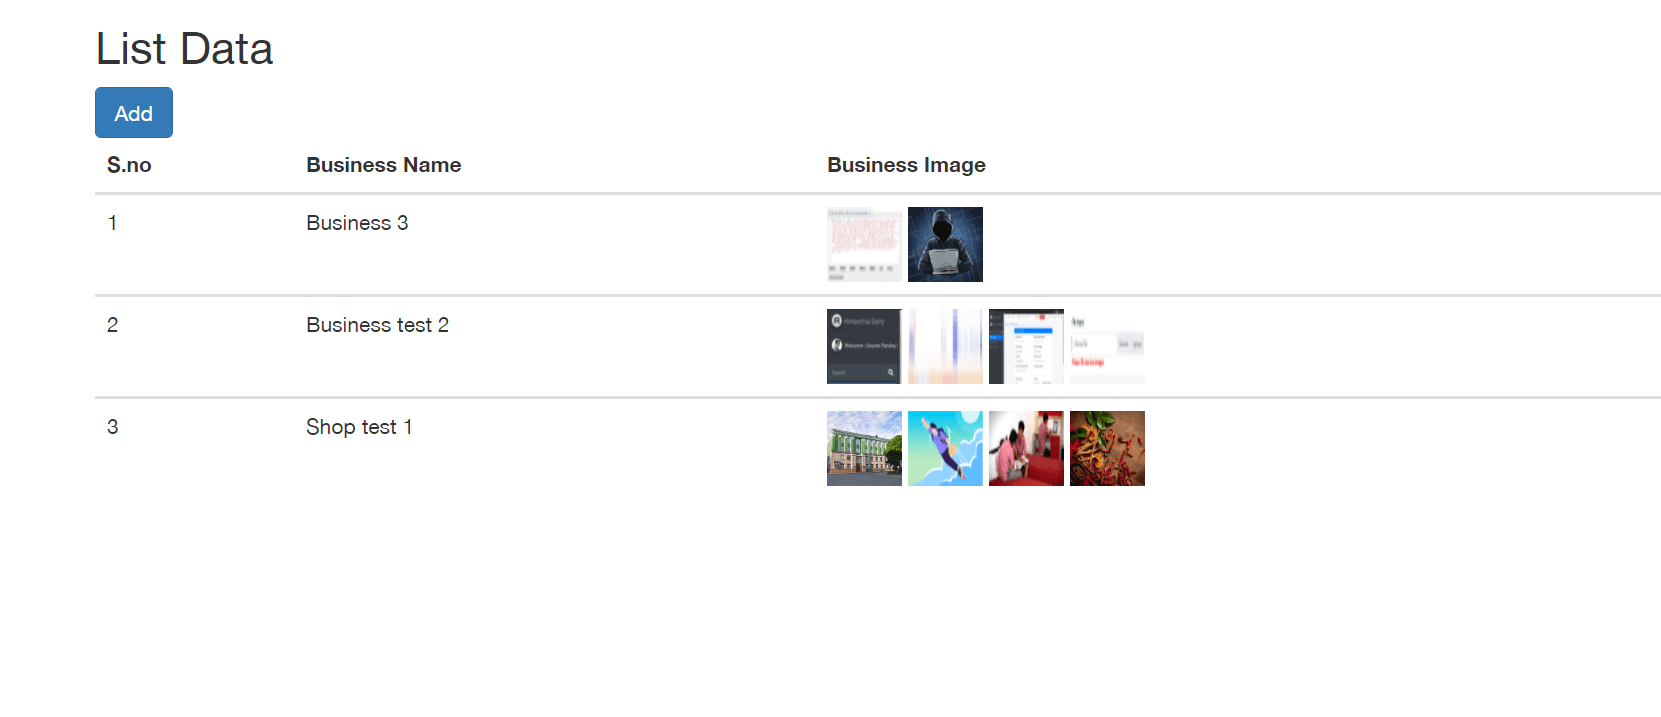
resources/views/MultipleimageUpload/list.blade.php
After these successful steps, we create a blade file to display all the latest uploaded images and other data, so just make a file list.blade.php file on this folder, and paste this code.

<!DOCTYPE html>
<html lang="en">
   <head>
      <title>List Data</title>
      <meta charset="utf-8">
      <meta name="viewport" content="width=device-width, initial-scale=1">
      <link rel="stylesheet" href="https://maxcdn.bootstrapcdn.com/bootstrap/3.4.1/css/bootstrap.min.css">
      <script src="https://ajax.googleapis.com/ajax/libs/jquery/3.5.1/jquery.min.js"></script>
      <script src="https://maxcdn.bootstrapcdn.com/bootstrap/3.4.1/js/bootstrap.min.js"></script>
   </head>
   <body>
      <div class="container">
         <h2>List Data</h2>
         <a class="btn btn-primary" href="{{route('image.upload')}}" role="button">Add</a>
         <table class="table">
            <thead>
               <tr>
                  <th>S.no</th>
                  <th>Business Name</th>
                  <th>Business Image</th>
               </tr>
            </thead>
            <tbody>
               @foreach($data as $key => $data)
               <tr>
                  <td>{{ $key+1 }}</td>
                  <td>{{$data->business_name}}</td>
                  <td>
                     @foreach(json_decode($data->business_imgs, true) as $key => $media_gallery)
                     <a href="{{ url('/uploads/Img/MultipleImg/'.$media_gallery) }}" data-toggle="lightbox" data-title="Package Media Gallery" data-gallery="gallery">
                     <img src="{{ url('/uploads/Img/MultipleImg/'.$media_gallery) }}" class="img-fluid mb-2" alt="white sample"/ width="50" height="50">
                     </a>
                     @endforeach
                  </td>
               </tr>
            </tbody>
            @endforeach
         </table>
      </div>
   </body>
</html>
So, in this blog, we learned, How to upload multiple image in laravel, with the help of following a few steps, if you have any query, please ask below comment section.
Also Read : Laravel form validation